
|

|

| |||
| teem | / | nrrd | / | demo |
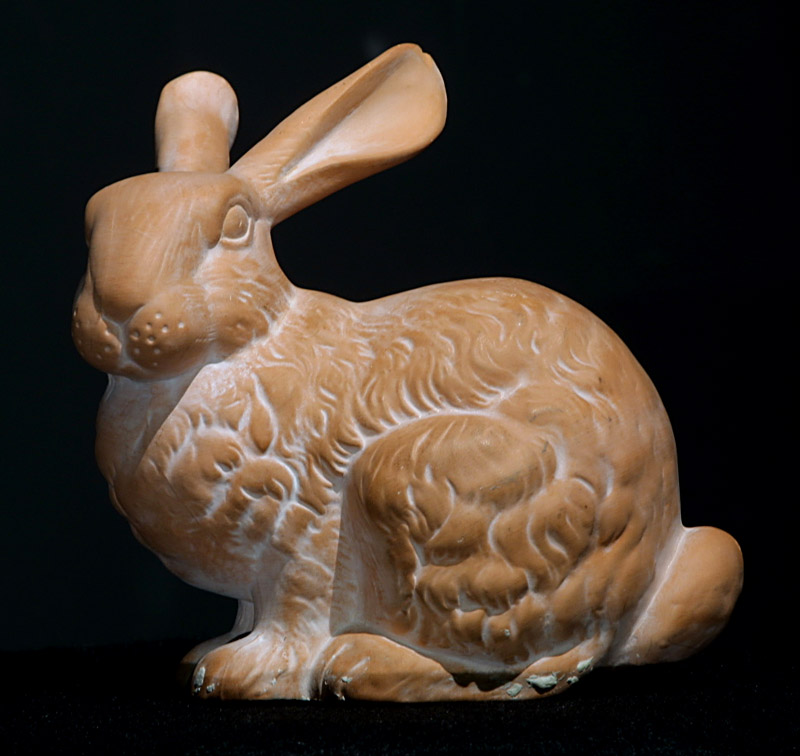
Making a bunny dataset |
First, get the data, using snarf or any other command-line URL retriever:
snarf http://graphics.stanford.edu/data/voldata/bunny-ctscan.tar.gz
tar xzvf bunny-ctscan.tar.gz
Initially, all we have to do is read all the slices in, in their correct order, while also specifying the sizes and spacings:
unu make -i bunny/? bunny/?? bunny/??? \
   -t ushort -e raw -en big \
   -s 512 512 361 \
   -sp 0.337891 0.337891 0.5 \
 | unu flip -a 2 -o tmp.nhdr
Why the unu flip after everything has been read in? Because I found that without this, the volume is the mirror image of what it should be. The physical bunny has a correct handed-nes, and if you want the index space of the volume to be right handed, then the flip is needed. To determine the handedness of index space, order the axes from fastest to slowest, and see if this forms a right or a left handed coordinate frame relative to world space.
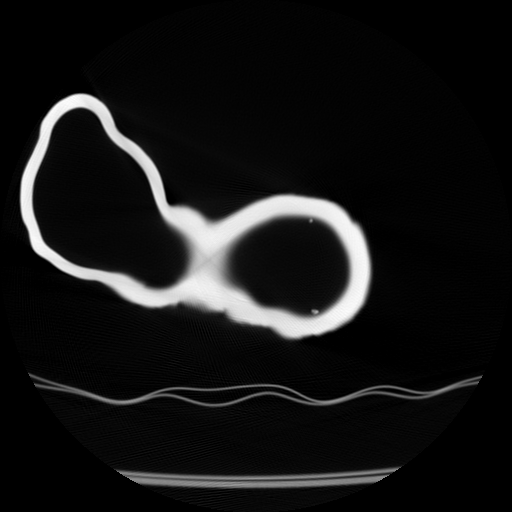
There is a problem evident if we inspect one slice:
unu slice -a 2 -p 200 -i tmp.nhdr \
 | unu quantize -b 8 -o slice0.png

unu minmax tmp.nhdr

"min: 0.000000
 max: 63536.000000"
By guessing that the unwanted high-valued voxels have a constant high value, they can be masked out as follows:
The output of the first unu will be 1.0 only where the value is not 63536, namely, in the interesting part of the dataset. This, then, is the right mask with which to multiply tmp.nhdr, in order to create the output. To verify:unu 2op neq tmp.nhdr 63536 \ | unu 2op x - tmp.nhdr -o bunny.nhdr
unu slice -a 2 -p 200 -i bunny.nhdr \
 | unu quantize -b 8 -o slice1.png
Now, clean up:
rm -rf bunny-ctscan.tar.gz bunny/
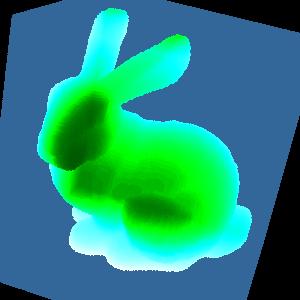
Finally, do a test rendering with mrender, which is like a volume renderer without transfer functions. Here's its used to make a depth image of a down-sampled version of the data, using a green-body colormap:
unu resample -i bunny.nhdr -s x0.3 x0.3 x0.4 \
 | unu 2op - - 1500 -t float \
 | unu 2op max - 0 \
 | mrender -i - \
   -k00 cubic:1,0 \
   -rh -fr 1 -5 2 -up -2 0 10 -dn -2 -di 0 -df 2 -ar \
   -ur -1.3 1.1 -vr -1.2 1.2 \
   -is 300 300 -step 0.005 -nt 30 \
   -q val -m histo-min -o - \
 | unu heq -b 10000 -s 1 -a 0.5 \
 | unu imap -m bbody.txt -r \
 | unu quantize -b 8 -o bunny.png

unu crop -i bunny.png -min 0 30 50 -max M M-31 m+140 \
 | unu resample -s = x0.6 x0.6 -o _bunny.png